

WHEELTOP Wireless Electronic Derailleur Quick Installation and Calibration Guide
Phase 1: Preset and Physical Installation
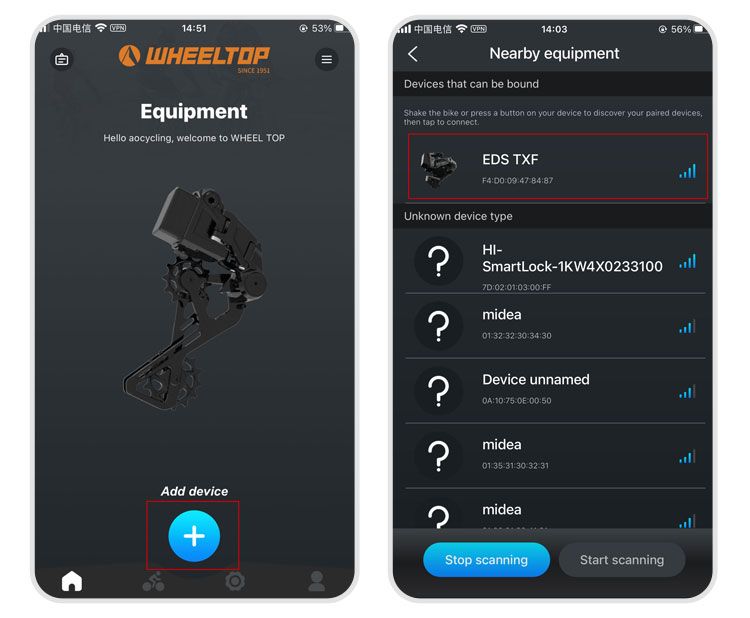
- APP Connection: Open the mobile APP and complete device pairing first.
- Set Speed Range: Configure the correct number of cassette sprockets (speed range) in the APP.
- Hardware Installation: Mount the derailleur to the frame.
- Locate Smallest Sprocket: Manually or via the APP, shift the derailleur to the smallest sprocket position (gear 1).
Phase 2: Initial Calibration (Core Steps)
⚠️ Note: Initial calibration must be performed with the derailleur on the smallest sprocket (gear 1).
- Standard Calibration: Enter the initial calibration interface in the APP, ensuring the guide pulley aligns with the outer edge of the smallest sprocket.
- Troubleshooting (Guide Plate Won't Move Down):
- Symptom: When clicking the right button on the APP, the motor runs but the guide plate doesn't move.
- Cause: The H limit screw is too tight.
- Solution:
- Open the derailleur cover.
- Using a 2mm hex wrench, loosen the H screw and fine-tuning screw counterclockwise by approximately 2 turns.
- Perform initial calibration again until the guide pulley moves smoothly and aligns with the smallest sprocket.
Phase 3: Drivetrain Testing and Gear Fine-Tuning
- Smoothness Check: Rotate the crankset and ensure the drivetrain operates smoothly without noise or grinding.
- Individual Gear Fine-Tuning: In the APP, navigate to "Device Debug" → "Shift Control":
- Enter Recommended Values: Start by inputting the system's suggested values.
- Targeted Adjustment: If shifting produces noise or chain installation is difficult, increase the tension value (recommended increment of 10 per adjustment).
- Apply Changes: After each adjustment, you must click [Save], then downshift and then upshift for the fine-tuning to take effect.
- Sequential Gear Adjustment: Perform the above fine-tuning for each individual gear until smooth shifting is achieved across the entire range.
💡 Friendly Tip: If force is needed during installation, ensure the tool is fully engaged to avoid slipping. Good luck with your adjustment!