
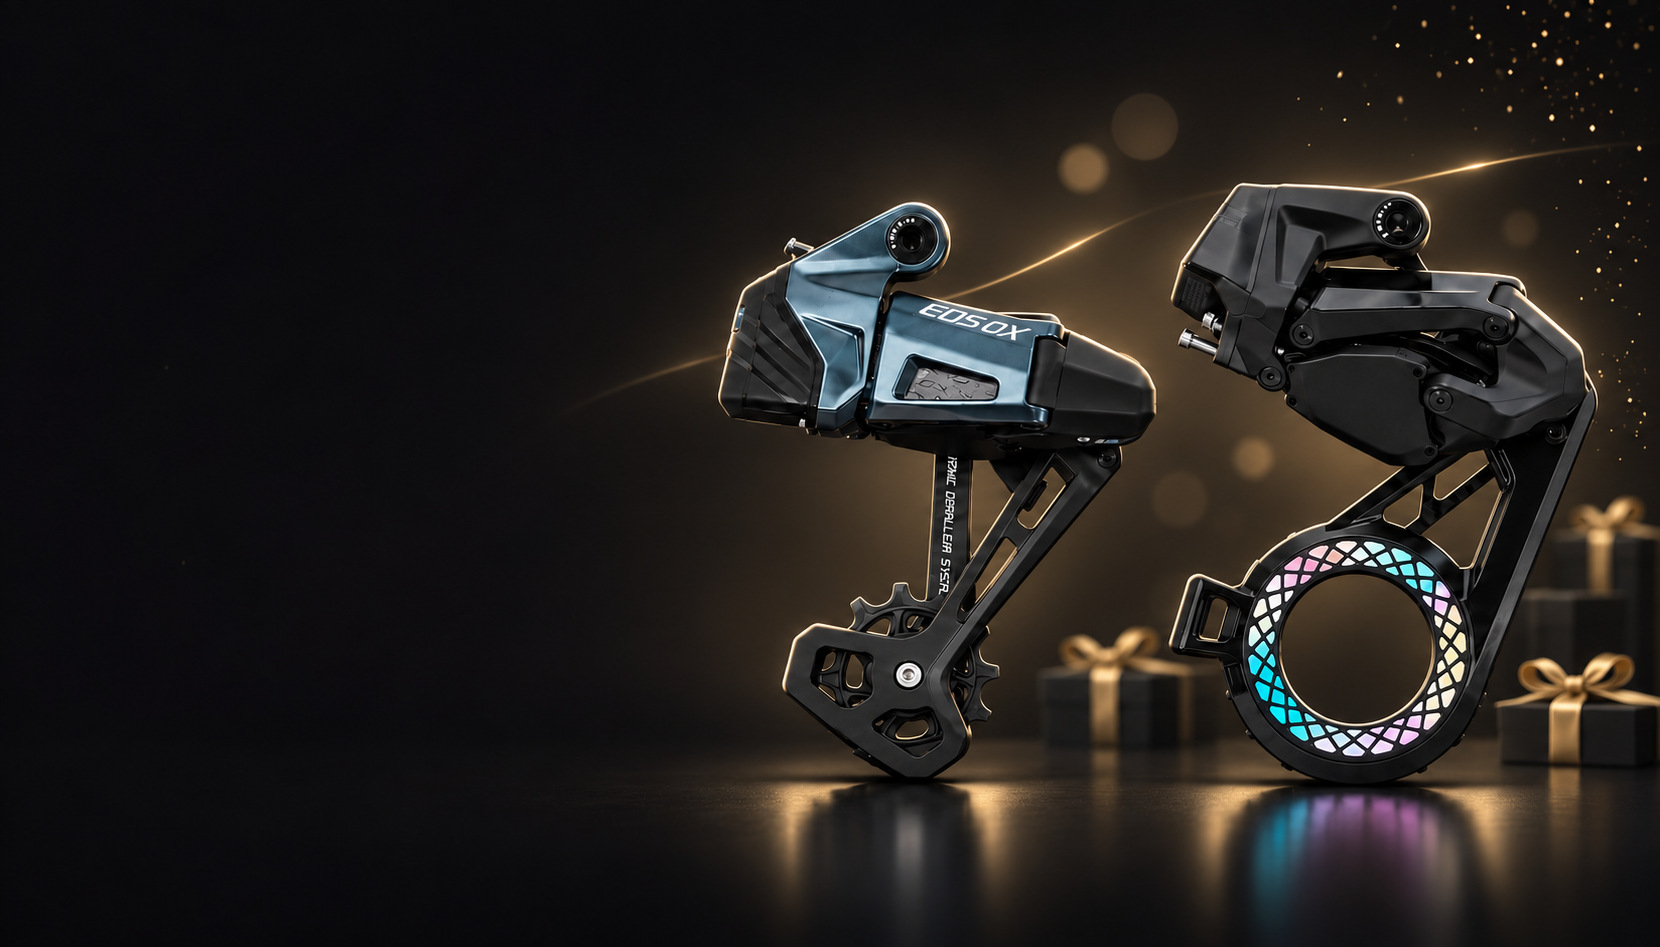
WHEELTOP EDS GeX Gravel Build & 6-Ride Review by oz cycle
What the build covers
oz cycle builds up a full-carbon Triaero Graro gravel frameset with an integrated headset, integrated handlebar and stem, carbon seatpost, and Elite Drive carbon-spoke wheels. Drivetrain parts alongside the WHEELTOP EDS GeX wireless gravel groupset and hydraulic brakes include Shimano GRX cranks with a 40T narrow-wide chainring, a Praxis bottom bracket, Shimano pedals, a 42T cassette, and a Connex SX chain.
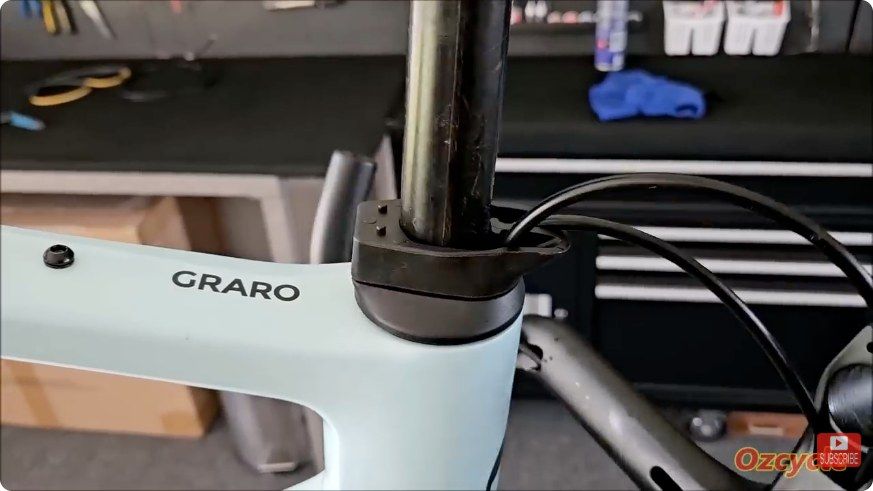
Because the GeX system is wireless, there are no shift cables or housing to fish through the integrated cockpit and carbon frame. Only the front and rear hydraulic brake hoses pass inside the bike, so the internal shift-cable guides can be removed altogether. To prevent hose rattle inside the down tube, he wraps the rear brake hose in inexpensive adhesive foam door-seal strip from a hardware store.
Routing hydraulic hoses and mounting the shifters
With external handlebars, the hoses can stay attached to the calipers out of the box—just feed the rear hose through the frame, fit the compression nut, olive, and barb, and thread it into the lever. For an integrated bar and stem, he recommends disconnecting the hoses from the calipers, draining the mineral oil, and trimming the ends if needed so the lines pass cleanly through the headset bearings and spacers.
He mounts the GeX levers with a 5 mm Allen key and installs the wheels early to judge hood angle. Because an integrated bar cannot rotate independently of the stem, setting lever tilt accurately before cutting hoses and wrapping tape saves rework later.
Caliper prep, hose cutting, and brake bleeding
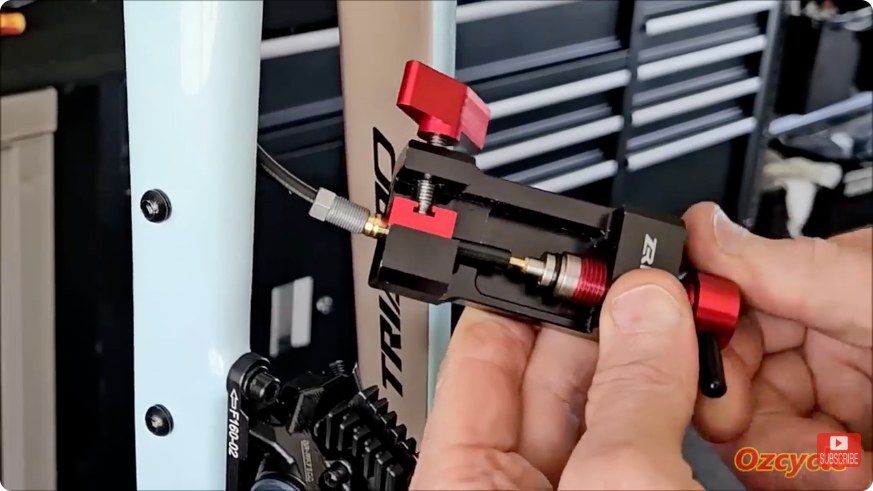
Before bolting on the 160 mm flat-mount calipers, he inspects the frame mounts and sands off excess paint overspray with medium-grade sandpaper on a flat block, blowing out all dust afterward. For 160 mm rotors, the caliper adapter mounts with the '160 F' arrow pointing upward, fastened to the caliper first with the short tapered-head bolts torqued to roughly 10 Nm so the bolt heads sit flush.
Both the caliper and shifter ends use Shimano-compatible barbs and olives, and the hose must insert 15 mm into the shifter's hydraulic receptor. He notes a major durability detail: unlike plastic receptors that can crack if over-torqued, WHEELTOP uses a metal receptor inside the shifter body. Bleeding by pushing mineral oil upward from caliper to lever produced a firm, bubble-free lever on the first try. Two small warnings: pry off the tiny pad-pin E-clip carefully (or clean the threads with alcohol and use a dab of Loctite if it flies away), and watch out for the 3.5–4 mm O-ring seated inside the caliper port.
Installing the rear derailleur, tidying the frame, and chain setup
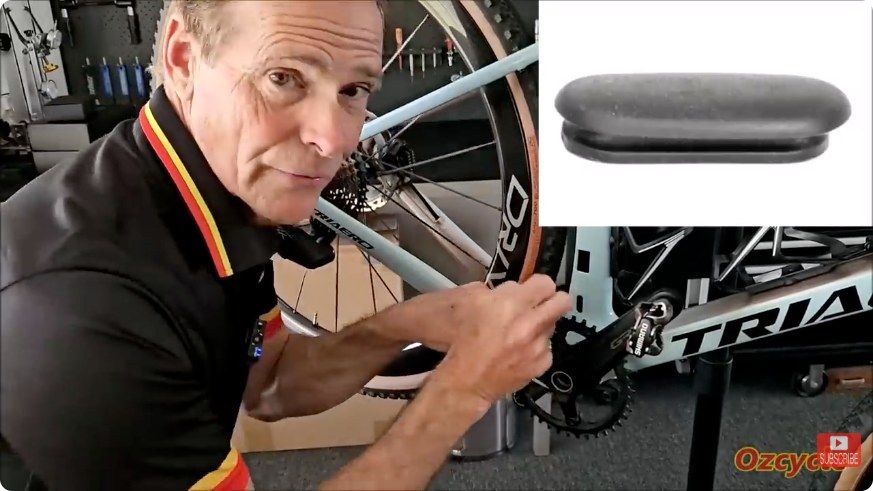
Mounting the wireless rear derailleur takes roughly 30 seconds: add a touch of grease to the hanger bolt and tighten with a 5 mm Allen key. Since this is a 1x setup, he removes the front derailleur hanger and seals the bolt holes with a trimmed piece of rubber strap glued flush, then plugs the unused mechanical cable ports with oblong rubber blind grommets.
For the 40T chainring and 42T cassette, he removes four links from a 118-link Connex SX chain. When threading the chain through the rear derailleur, he highlights that WHEELTOP uses a narrow-wide tooth profile on the lower jockey wheel—riders need to seat the chain links properly onto those wide and narrow teeth rather than letting the chain ride on top.
Limit screws, B-tension, and app fine-tuning
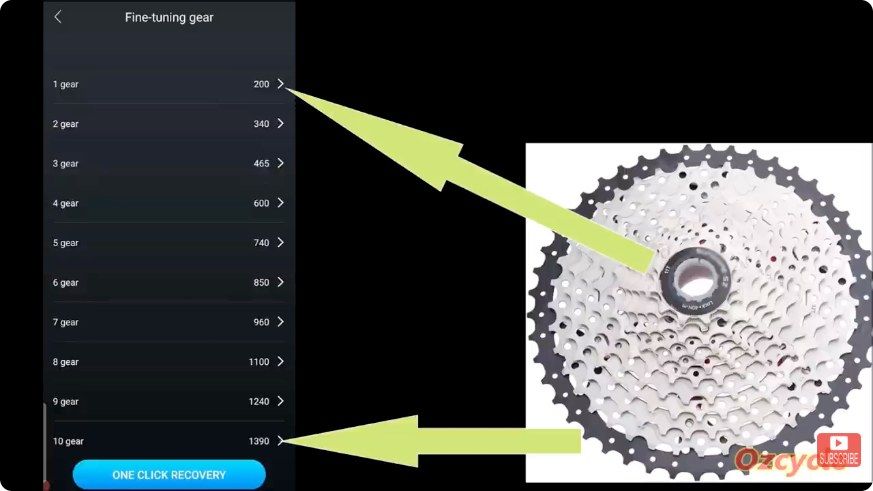
Before indexing, he removes the derailleur fairing and backs off the clutch dampener tension so each cog's chain noise is easy to hear, then sets the high/low limit screws and B-tension gap. Inside the WHEELTOP app (Settings -> Equipment Debugging -> Tuning), each cog has a numeric position value—for example, lowering gear 1 from 220 to 200 pulls the derailleur slightly outward toward the frame.
Crucially, after editing a cog's number in the app, you must shift away from that cog and shift back for the derailleur to recognize and store the new position. On the cockpit side, the app lets you remap the large and small right-hand paddles or assign the left-hand paddle to shift up or down as well. For shifter coin-cell swaps, marking the frontmost alignment tab on the cap and lever body makes re-seating the twist-lock cap effortless.
Six test rides: shifting, braking, and long-term notes
oz cycle logs six test rides—two on road and four off-road—with zero missed shifts and no chain slap on the unprotected chainstay thanks to the rear derailleur's dampener. Out of the box, his kit didn't respond until he removed the right shifter battery, gave the rear derailleur a gentle shake to wake it up, and reinstalled the battery. Starting at 48% charge, the derailleur lasted three more rides before dropping to 17%.
On rough gravel, the tactile click requiring a deliberate push prevents accidental shifts, though holding the paddle on sudden steep climbs takes practice to avoid overshifting too many gears at once. The stock ceramic-carbon brake pads felt mild on the first two rides before bedding in strongly by rides four and five. Minor watch-outs: make sure the square rubber lug inside the right lever hood snaps fully into its body hole after bleeding so it doesn't feel lumpy, keep steel bolts protected in wet climates, and note that WHEELTOP has updated GeX compatibility to work with OX flat-bar shifters and the TX front derailleur for 2x builds.
Verdict
oz cycle sums up the WHEELTOP EDS GeX gravel groupset simply: it just works, and it works really well. Between effortless first-try brake bleeding, rugged metal hose receptors, reliable chain retention over rough trails, and cross-compatibility across WHEELTOP's road and MTB ecosystem, it is an easy recommendation for riders building a clean wireless 1x or 2x gravel bike.
This article is based on oz cycle's video 'Wheeltop GEX gravel build & Test rides'. Watch the original video above.


