
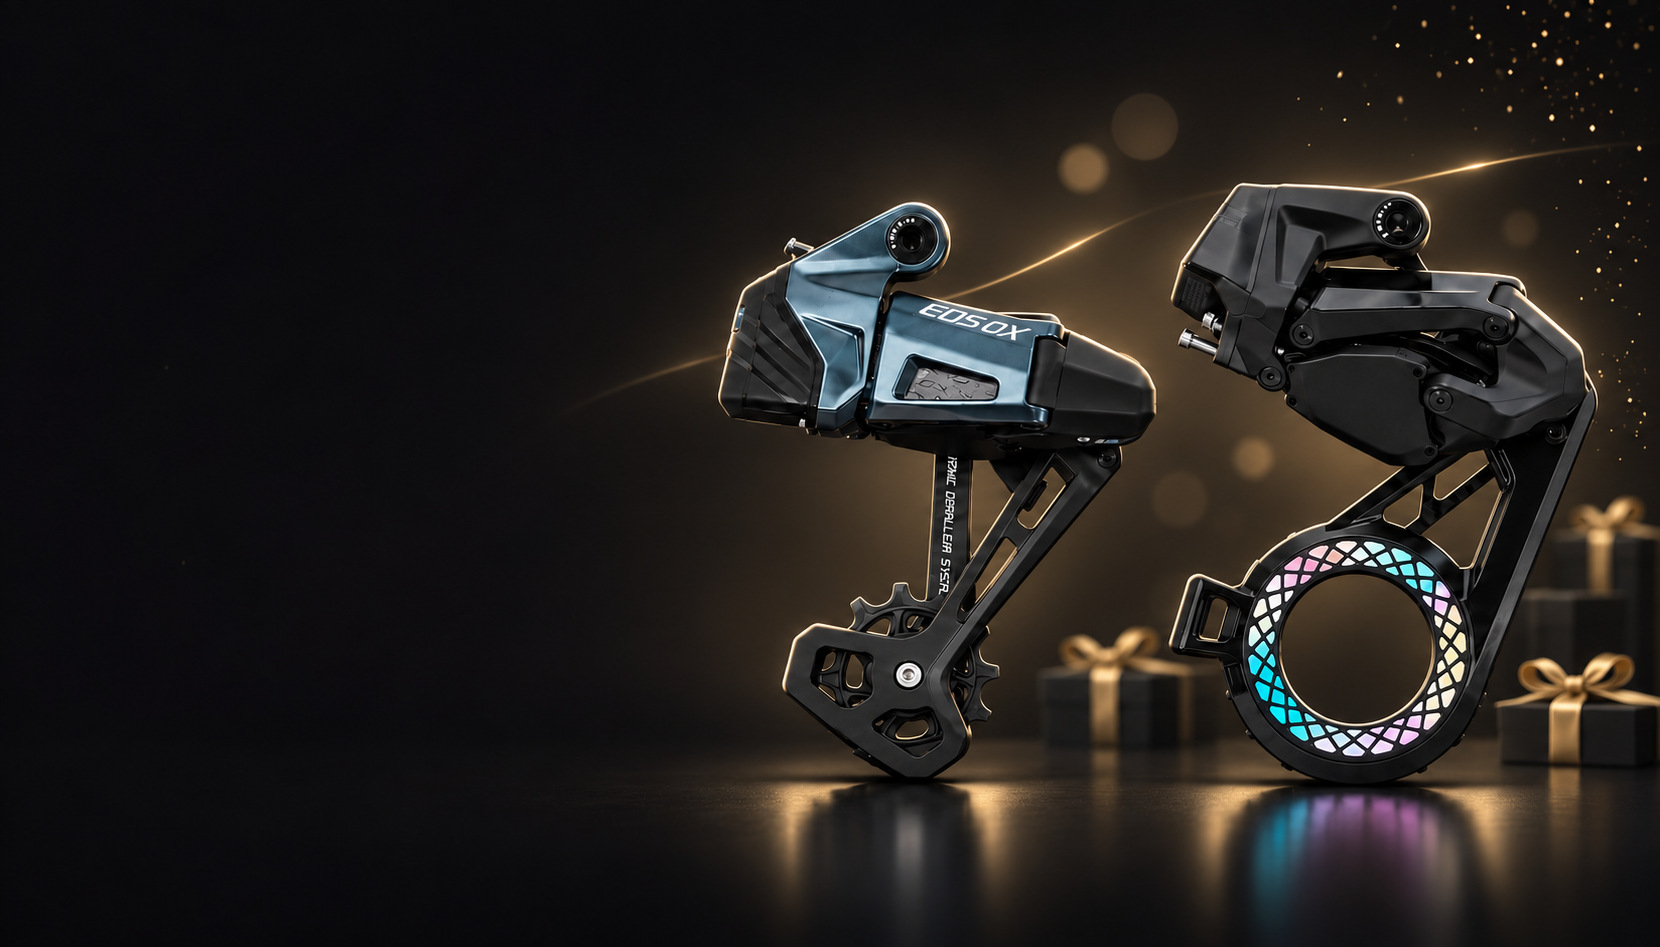
WHEELTOP EDS TX Wireless Road Drivetrain Install by Your Favorite Cyclist
What the video covers
Your Favorite Cyclist upgrades his Poseidon Triton road bike, which came with a mechanical microSHIFT Sword 2x10 drivetrain. He had already raced his gravel bike with the WHEELTOP EDS GeX system, and after going back to the road bike he missed the electronic shifting and hydraulic brakes. That led him to the EDS TX, WHEELTOP's road kit with wireless shifting and hydraulic disc brakes.
This video covers only the drivetrain: waking up and pairing the parts, removing the old components, installing the derailleurs and levers, and calibrating everything. He says the hydraulic brake install is covered in a separate video.
Going through the kit, he points out the carbon lever blades, the carbon cage and center link on the rear derailleur, and a blacked-out front derailleur. The TX is the only one of these WHEELTOP systems he has used with a front derailleur. The kit also comes with a brake bleed kit and two magnetic charging cables, since the batteries are built into the derailleurs. Rotors are not included, so he reuses the ones already on the bike, just as he did on his gravel build. He also mentions that a cable-actuated version exists for riders who want to keep mechanical disc or rim brakes.
Waking up and pairing the derailleurs
The derailleurs ship in what he calls transport mode. Pressing the rear shifter lights up the lever, but the derailleur doesn't react. Following the instructions, he attaches the magnetic charging cable until a red light comes on, then unplugs it, and the rear derailleur responds to the shifter.
He repeats this with the front derailleur. The left lever has only one button, which had puzzled him at first on a 2x setup. He shows that this one button moves the front derailleur both up and down. He also notices that the front derailleur trims itself automatically as the rear shifts, which helps keep the chain from rubbing.
Installing the derailleurs
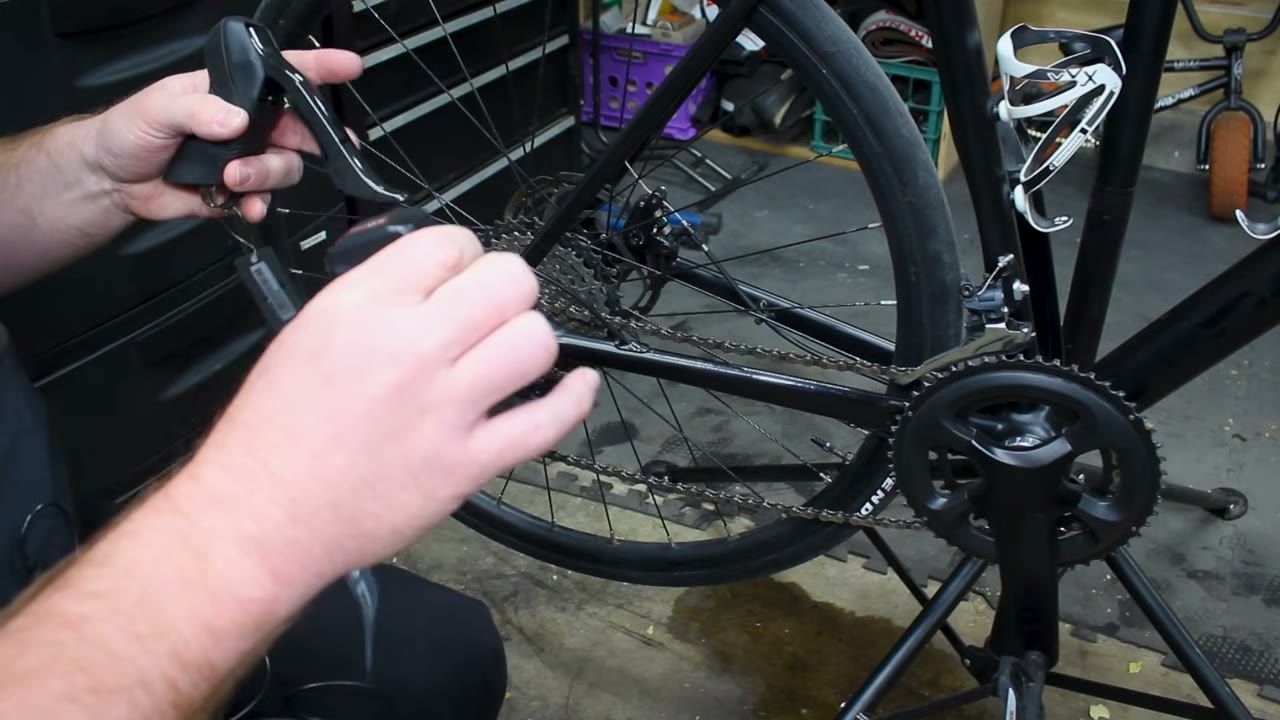
Next he opens the chain at its quick link, removes the old cables, and takes off both mechanical derailleurs. To mount the new rear derailleur, he lines up a small block on its back with the tab on the derailleur hanger. He notes that it tips forward quite a bit at first, and that this gets fixed later during adjustment.
The front derailleur mounts with a single bolt. A sticker printed with teeth goes onto the cage. He uses it to set height by lining the printed teeth up with the chainring teeth, then checks from behind that the derailleur sits straight before tightening it. After that he feeds the chain back through both derailleurs.
Mounting the carbon levers
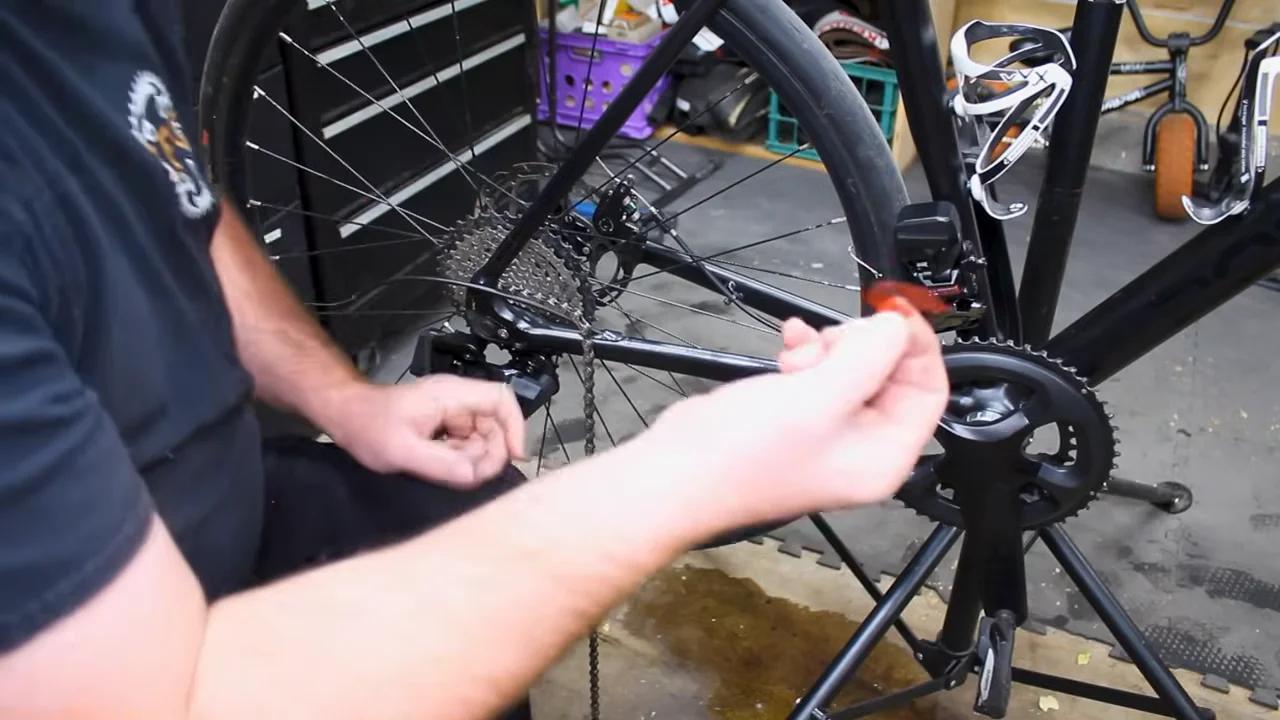
Up front, he removes the worn bar tape, cuts the tape holding the old housing in place, and pulls the shift cables. He leaves the brake housing in the frame so he can use it to pull the new hydraulic hoses through later.
He uses a 5 mm Allen key on the bolt under the hood to remove the old levers. The new levers clamp with a bolt on the side of the body. The single-button lever goes on the left. He snugs both levers into rough position and says he likes how the carbon looks on the blacked-out bike.
Calibrating and fine-tuning in the app
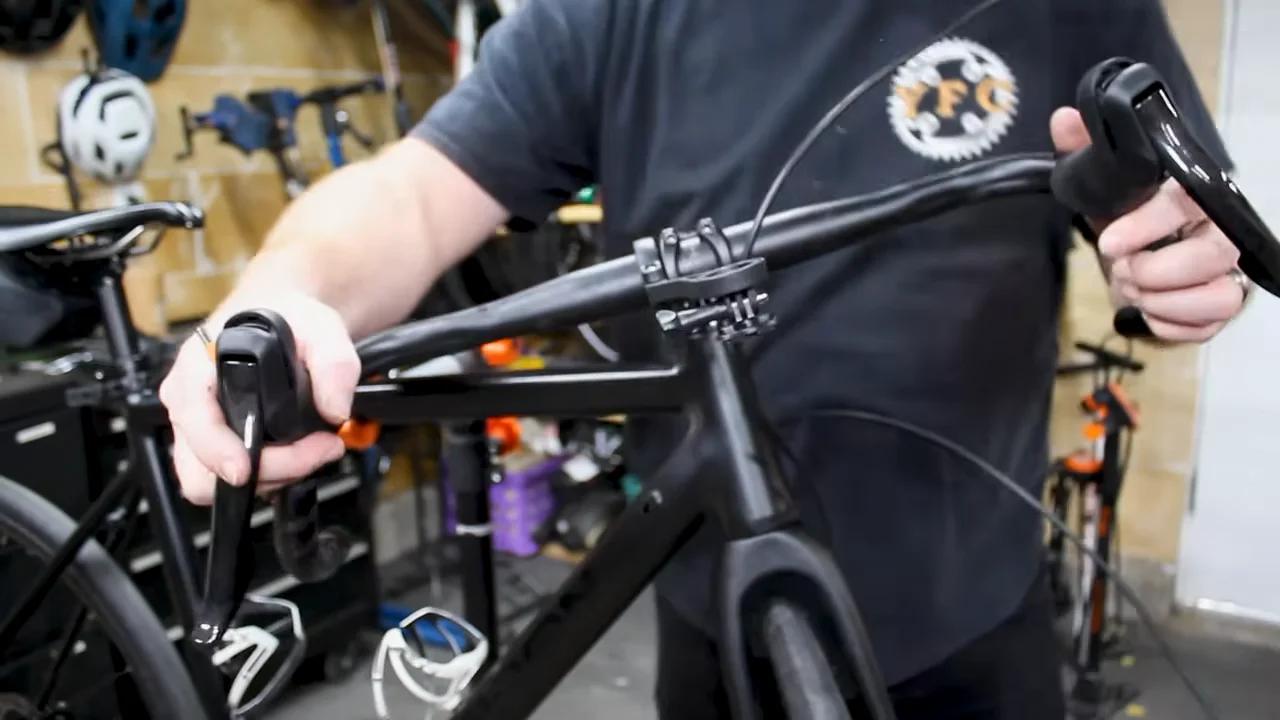
For calibration he follows the manual step by step. He says that on his gravel build he skipped the manual at first and lost time, and that the system expects things to be done in a set order. He first checks the front derailleur with a 2 mm Allen key on the support bolt so it sits parallel to the frame, then sets the rear B-tension and the low and high limit screws.
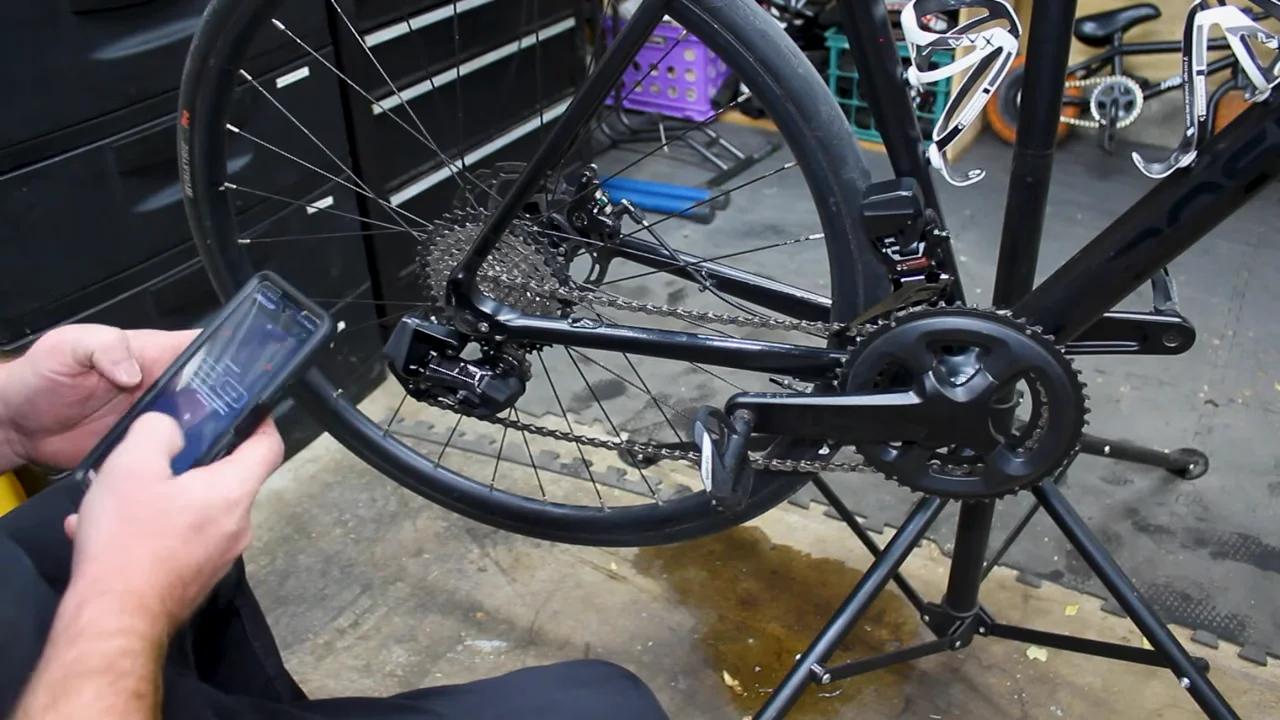
In the app he also has to change a setting that was configured for ten speed. For the front derailleur's initial calibration, he puts the chain in the big ring and smallest cog and checks the gap between the guide plate and the chain. During fine-tuning, the front derailleur at first rubbed badly. He traced the problem to firmware: the app had been updated, but the derailleurs and shifters had not. After he updated the firmware on all the parts, everything worked as expected and he couldn't see any rub. He adds that small adjustments can be made in the app later and rarely need to be repeated.
Things to keep in mind
The system limits some gear combinations. During setup, the rear derailleur wouldn't shift past the third gear while the chain was on the small chainring. He only worked this out after opening the app and shifting the front derailleur to the big ring. He points out that a mechanical drivetrain would simply move wherever it was told, so this takes some getting used to.
Firmware matters. He reports a large firmware jump on the rear derailleur and says the derailleurs, shifters and app all need to be up to date for everything to work properly.
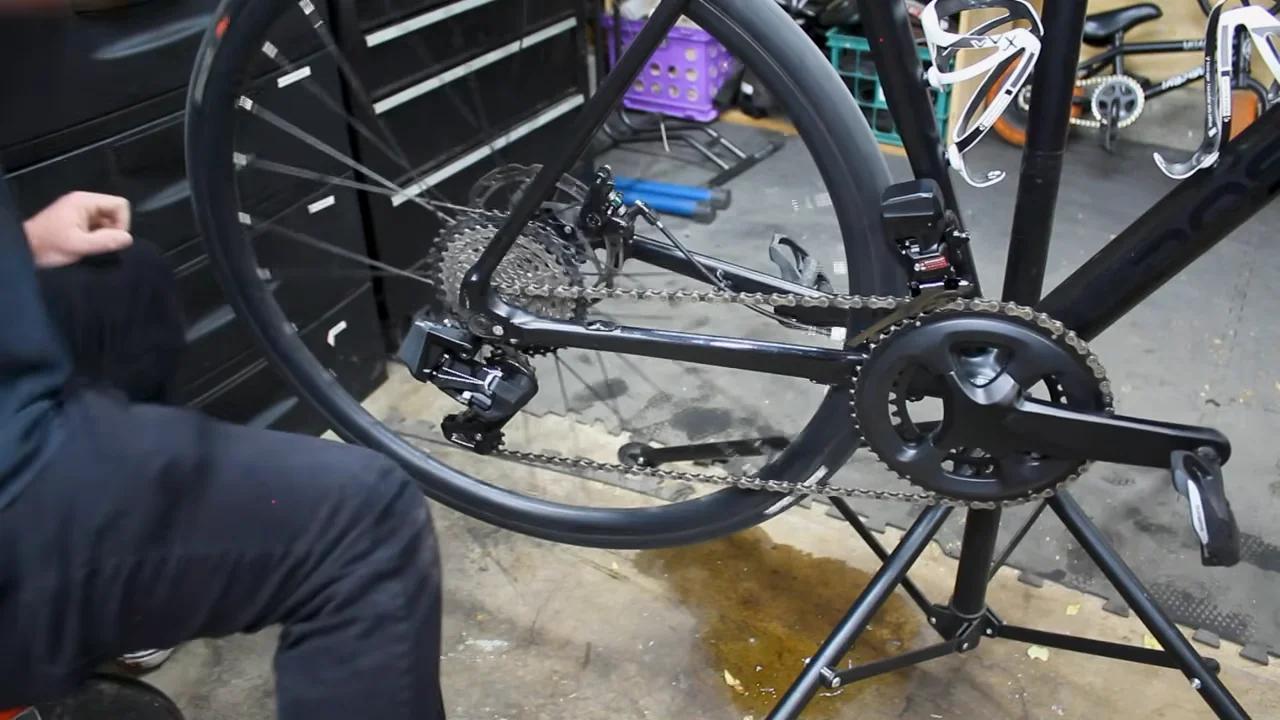
This video does not cover the brakes. The hydraulic brake install, bleeding and bar wrap are in a follow-up video, and he hadn't yet taken the bike for a ride when this one ends.
Verdict
Your Favorite Cyclist calls the EDS TX great right out of the box. He says it was easy to program and that the shifting feels smooth. He also likes how much the black and carbon parts change the look of the bike. He thinks riders will be happy with whichever WHEELTOP version suits their bike: the TX for road, the GeX for gravel or the OX for mountain bikes. He plans to post a longer-term review after riding the TX for several months.
This article is based on Your Favorite Cyclist's video. Watch the original video above, published 6 November 2026.


